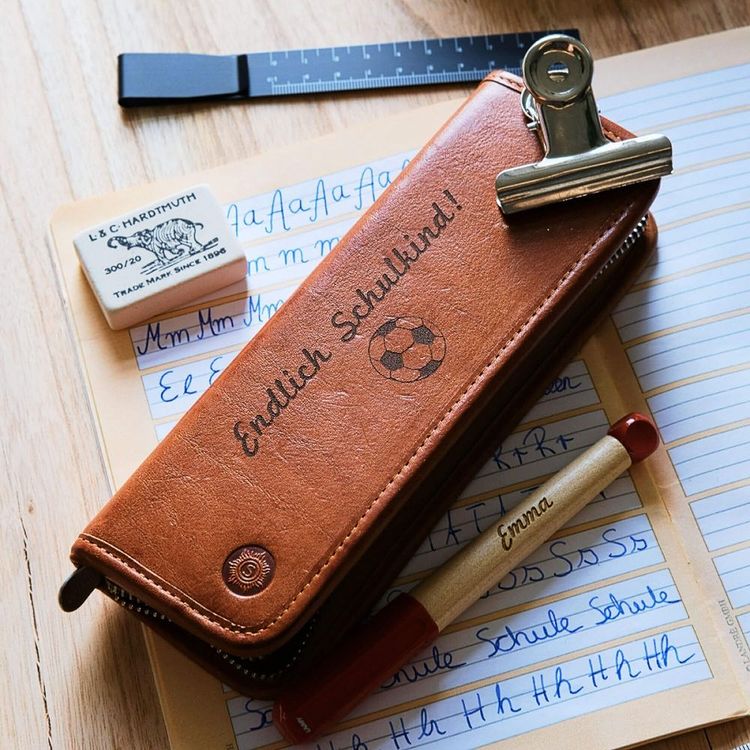
Leather has long been a preferred medium for artisans, valued for its durability, versatility, and the unique character it develops over time. It has served various purposes from ancient manuscripts to fashionable accessories, each piece telling a unique story through its textures and tints. This blog delves into the refined art of leather engraving, which not only enhances leather's appeal but also transforms it into a canvas for personal expression.
Why Engrave Leather?
Leather engraving stands out due to the material's inherent qualities—its rich texture, warm touch, and the elegant patina it acquires with age. Engraving leather adds a personal touch that turns ordinary leather goods into cherished keepsakes. Whether it's a wallet, a bracelet, or a custom patch, engraved items hold sentimental value, making them truly unique.
The Time-Honored Technique of Hand Engraving Leather.
Hand engraving, or carving on leather, is more than just a craft—it's a way to bring intricate designs to life. This traditional method involves several steps that allow artisans to create raised and recessed areas on the leather, giving the design a dynamic, three-dimensional appearance.
Essential Tools for Hand Engraving Leather:
1. Swivel Knife:** The primary tool for carving intricate designs. Its flexible, rotating blade allows for precise cuts and curves.
2. Beveler:** Used to add depth around the cuts, enhancing the three-dimensional effect.
3. Background Tools:** Including the matte backgrounder, these tools are used to create textured backgrounds that contrast with the main design.
4. Pear Shader:** Creates rounded impressions to add depth and contour.
5. Mallet or Maul:** Ensures even pressure when using other tools, helping to achieve uniform depth in the engraving.
Steps to Hand Engrave Leather:
1. Trace the Design:** Begin with placing your design under wax paper and tracing it carefully to capture all details.
2. Dampen the Leather:** Moisten the leather uniformly using a sponge or spray. The leather should be damp but not wet, allowing for easier carving.
3. Transfer the Pattern:** Lay the traced design over the leather and use a pencil to gently transfer the pattern onto the surface.
4. Cutting the Lines:** Use the swivel knife to trace over the design, making consistent cuts. These should be about half the thickness of the leather to avoid cutting through.
5. Tooling with Bevel Stamp:** Outline the design with a bevel stamp to give it a pronounced, raised look, adding to the depth of the carving.
6. Background Tooling:** Employ background tools to create a textured effect that enhances the main design.
7. Tooling with Pear Shader:** Use the pear shader to add rounded impressions in specific areas of the design, adding further depth.
8. Additional Tooling:** Experiment with different stamps to add intricate details and complete the design.
9. Drying and Finishing:** Once the engraving is complete, allow the leather to dry thoroughly. Apply a coat of Neatsfoot oil and a quick shine spray for protection and luster. Finish with an antique paste to accentuate the engraved patterns.
Revolutionizing Leather Engraving with Modern Technology:
While hand engraving offers a traditional touch, modern laser engraving machines have revolutionized the process, allowing for precision and efficiency in leather engraving. These machines can create detailed and consistent engravings on a large scale, suitable for both industrial applications and personal projects.
Conclusion:
Leather engraving is an art that marries tradition with innovation. Whether by hand or machine, engraved leather pieces are timeless, carrying stories and sentiments that endure. As we continue to explore new techniques and tools, the possibilities for creative expression in leather are limitless.

